kubesphere的安装部署
书接上回,本周把kubesphere的安装部署记录发出来,
首先要安装部署storageclass,
需要在每个node上安装nfs客户端软件,sudo apt install nfs-common,
然后下载storageclass的安装部署yaml模板,
wget https://raw.githubusercontent.com/kubernetes-incubator/external-storage/master/nfs-client/deploy/class.yaml,
wget https://raw.githubusercontent.com/kubernetes-incubator/external-storage/master/nfs-client/deploy/deployment.yaml,
wget https://raw.githubusercontent.com/kubernetes-incubator/external-storage/master/nfs-client/deploy/rbac.yaml,
接着执行yaml模板,kubectl apply -f rbac.yaml,
执行deployment模板之前要改一下配置,
vim deployment.yaml
env:
- name: PROVISIONER_NAME
value: fuseim.pri/ifs
- name: NFS_SERVER
value: 10.90.11.161
- name: NFS_PATH
value: /mnt/truenas
volumes:
- name: nfs-client-root
nfs:
server: 10.90.11.161
path: /mnt/truenas
kubectl apply -f deployment.yaml,kubectl apply -f class.yaml,
查看部署成功的storageclass,kubectl get storageclass,
把当前的storageclass设置成default,这个很重要,不然后面部署kubesphere的时候会报错,
kubectl patch storageclass managed-nfs-storage -p '{"metadata": {"annotations":{"storageclass.kubernetes.io/is-default-class":"true"}}}',
接下来就是真正部署kubesphere了,
下载kubesphere的安装部署yaml模板,
wget https://github.com/kubesphere/ks-installer/releases/download/v3.1.1/kubesphere-installer.yaml,
wget https://github.com/kubesphere/ks-installer/releases/download/v3.1.1/cluster-configuration.yaml,
执行yaml模板,kubectl apply -f kubesphere-installer.yaml,
kubectl apply -f cluster-configuration.yaml,
通过下面命令查看部署的进度,
kubectl logs -n kubesphere-system $(kubectl get pod -n kubesphere-system -l app=ks-install -o jsonpath='{.items[0].metadata.name}') -f,
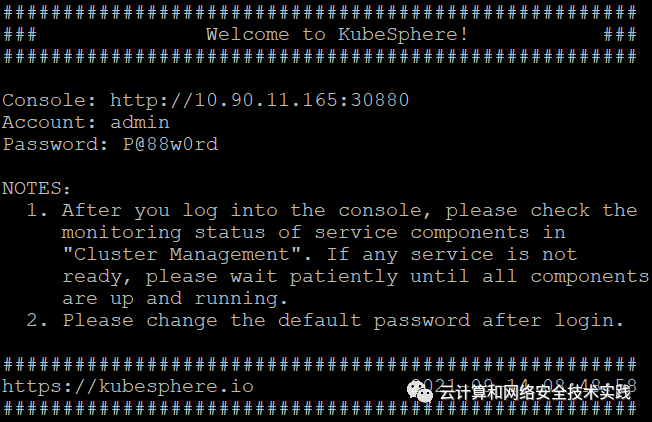
部署成功的输出是下面这样,

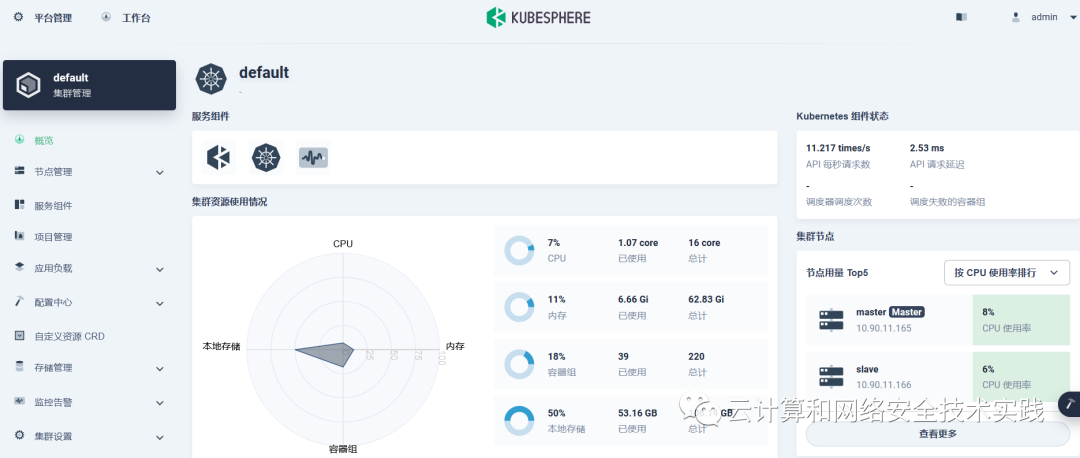
按照提示访问管理界面,

界面很清爽,下周再把rancher也装上对比一下。